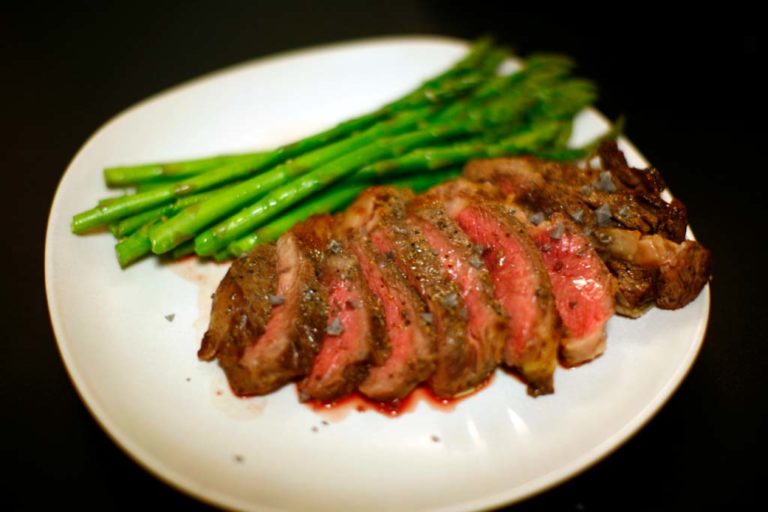
Chef's notes:
Buffalo, also known as the American bison, is a meat that few Americans have tried. Buffalo meat to me tastes wild, exotic, and more interesting than beef. Don’t get me wrong—I am a huge fan of beef, but sometimes I get tired of the blandness of it and desire something with more flavor. For that flavor, I have turned more and more frequently to bison. Unfortunately, bison is more expensive than beef; at least where I am it is. I imagine if you purchased it in bulk from a rancher, you would get a better price. That is worth investigating if you love buffalo as much as I do.
Normally, I would fire up the grill, but it is still winter. I guess I will have to wait until spring to grill buffalo ribeyes. Buffalo have had a troubled past. They were nearly wiped out a century ago. There aren’t really wild buffalo anymore, most are raised like cattle.
Ingredients
- 3 buffalo steaks
- Sea salt
- Black pepper
- Vegetable oil
- Butter
Broiled Buffalo Steak Seasoned with Sea Salt and Black Pepper and Served with a Little Butter
- Prep the steaks while preheating the broiler on high. With tender cuts of meat like ribeye, never season them with more than salt and pepper. The meat is already tender and flavorful and does’nt need more than accents to the flavor. So put sea salt and fresh ground black pepper on the steaks; then rub them with a coat of vegetable oil. The oil helps to caramelize the meat and fat, in a process known as the Maillard reaction. It’s best to cook meat from near room temperature. So let you steaks sit out for a few minutes.
- Once the broiler is up to heat, place the steaks about 4–5 inches under the heat element. The amount of time the steak is going to cook on the first side is going to depend on a couple of things. First, how thick the steak is. A thicker steak will take longer. Second, how hot your broiler is. Gas broilers will put out more heat than electric broilers. And finally, how you like your meat cooked. So you’ll need to watch your steak under the broiler to see how it’s cooking. If it’s cooking too quickly, lower the heat or lower the meat.
- When the first side has cooked to your liking, flip it over and finish the meat on the other side. Don’t forget to use an oven mitt to grab the pan, and use a pair of spring-loaded tongs to flip the meat. They are the best tools for the job. When you open the oven, there may be a good deal of smoke coming out. That is to be expected. If you have a hood fan/vent, turn it on. If you kept track of the amount of time it took to cook the first side, use that as an estimate for the other side.
- Once the steak is done, take it out of the oven and transfer it to a surface to rest. I put my steak onto aluminum foil and top it with butter. The butter adds a creamy flavor, which many people like with their meat. Let the steak rest for at least ten minutes before eating. The resting period is essential to cool the meat to a point where the juice and fat begins to stick together again. If you cut too soon, you will have dryer meat. So be patient. It will be worth the wait.
Tips & Tricks
- The key to broiling or even grilling is don’t touch. You can take a peek if you want, but don’t do it too much. Smoke is almost certain to occur. If you have a hood vent, turn it on. If you have a smoke detector, disconnect it for a minute, but don’t forget to plug it back in once you have finished.
- Instead of a traditional broiling pan, you could use grill grates of the thick cast iron variety. Place them on a thick cookie sheet with sides on it. Heat the grill grates in the oven while the broiler warms up. When you put the steaks on the grill grates, they will get nice grill marks. Broil as before, but make sure to leave some of the grill grate open so that portion will continue to heat. When you flip the steak, flip it onto the unused portion of the grill grate. This extra effort will be greatly appreciated by those that eat the steak as the flavor of seared flesh is quite amazing. If you didn’t oil the steaks in the previous step, you will want to oil the grill grates a little for this process.
